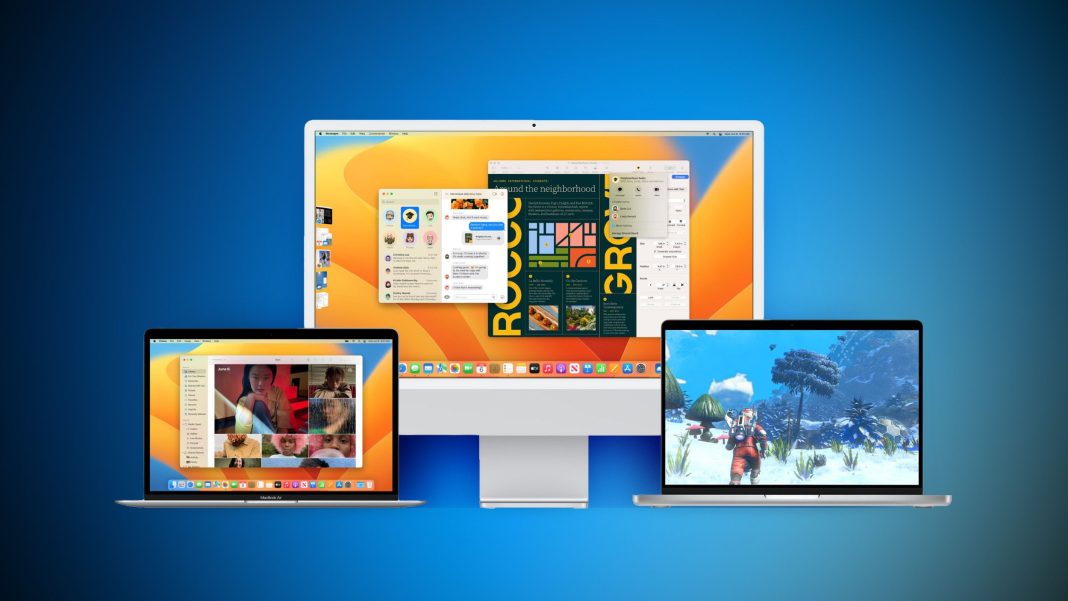
Quick Look is an exceptional yet frequently overlooked feature integrated into macOS. Essentially, it empowers you to preview files directly within the Finder, eliminating the need to open each file individually. This functionality serves as a valuable enhancement to your everyday workflow, providing a swift and hassle-free approach to reviewing multimedia content.
Notably, Quick Look offers seamless compatibility with an extensive array of file formats. This encompasses images, documents, audio files, and videos. Even more impressive is its capability to preview attachments within emails or messages. To fully unlock the potential of Quick Look on your Mac, explore the following eight methods!
1. Resize Windows
Initiating Quick Look is a breeze. Begin by selecting one or more items within Finder that you wish to preview, then simply press the space bar. This action will promptly trigger the opening of a Quick Look tab. Once this tab is active, adjust the window size according to your preferences by dragging its corners.
To delve into full-screen mode, click on the Expand icon located in the upper-left corner of the window. To exit full-screen mode, navigate your cursor to the bottom and click on the Exit Fullscreen icon. Alternatively, you have the option to employ the Split View feature to position a Quick Look tab on either the right or left side of your screen. This proves particularly advantageous when you aim to compare two distinct images in a side-by-side manner.
2. Mark Up an Image
Much like the capability to edit audio and video files in Quick Look, macOS also offers the functionality to annotate and mark up your images and files.
Simply click on the Markup button (which resembles a pen) to access the Edit menu. You’ll find a plethora of options at your disposal. You can draw directly on the image, insert a digital signature, or include shapes and text within the image. Additionally, you have the option to provide a description for your image if desired.
3. Trim a Video or Audio File
An exceptional capability within Quick Look is its outstanding feature that allows you to trim videos or audio items. This serves as a highly efficient tool for quick editing and sharing of content. To make use of this feature, follow these steps:
1. Locate and click the Trim button to activate it.
2. Use the yellow handles within the trimming bar to drag and define the desired trim area.
3. To preview your modifications, simply click the Play arrow.
If you decide to undo the adjustments, an option similar to the editing process on an iPhone is available. Once you’re satisfied with your edits, save them by clicking “Done.” You then have the option to create a new file or replace the original item with the edited version. This feature proves to be an exceptional asset for on-the-fly content editing and enhancement.
4. Crop or Rotate a File
An exceptionally beneficial feature of Markup within Quick Look is its capability to crop or rotate files. This functionality becomes incredibly valuable when you need quick adjustments, such as correcting the orientation of a file before sharing or uploading it. To access this feature, follow these straightforward steps:
1. Click on the Crop tool.
2. Make the necessary cropping or rotation adjustments as needed.
The incorporation of this feature eliminates the need to import files into separate software applications like Photoshop. By bypassing additional steps, such as waiting for applications to load and exporting images, your workflow becomes significantly more streamlined.
5. Share an Item
Imagine this scenario: You’ve recently uploaded your vacation photos to your Mac and now want to share them with your friends and family. Instead of transferring all the pictures to an external drive or going through them one by one, take advantage of Quick Look for a more efficient approach. Preview multiple files seamlessly, and when you’re ready to share, follow these simple steps:
1. Use the Share icon.
2. A dropdown menu will appear, offering you a variety of sharing options.
From there, you can proceed to share the photos using any of the available extensions, such as AirDrop, Messages, or the Mail app. This method simplifies the sharing process, making it more convenient and saving you time in the process.
6. Activate Slideshow to Browse Items
For those who have selected multiple items to view in Quick Look, there’s excellent news: navigating through the chosen files is a seamless task.
You can simply use your right or left arrow keys, or click on the arrows located near the bottom of the window, to smoothly move between the selected items. This functionality offers substantial benefits in terms of workflow efficiency and organization, as it eliminates the need to spend excessive time searching for individual files. Furthermore, if you prefer a hands-free approach, you can initiate a slideshow feature for your chosen items by clicking on the Play icon that becomes visible in fullscreen mode.
In a fast-paced world where time is a precious commodity, Quick Look’s capabilities stand as a testament to macOS’s dedication to providing intuitive user experiences. By harnessing these impressive features, you can effortlessly navigate through files, enhance media, and optimize sharing – all without having to leave the convenience of your Finder window.

