The CPU, also known as the processor, functions as the central brain of your computer, making its smooth operation crucial. When subjected to intense tasks, the CPU temperature can rise, potentially leading to performance issues like slowing down or crashing. Prolonged exposure to high temperatures can even result in the deterioration or failure of the CPU. In the following guide, we’ll explore the steps to effectively cool down your CPU. This includes monitoring temperature levels, determining optimal temperature ranges, and implementing solutions to rectify overheating problems.

How to Monitor Your CPU Temperature
Verifying your CPU’s temperature is a straightforward process. If you’re using a Windows operating system, Speccy serves as an excellent diagnostic tool that provides comprehensive insights into your PC, encompassing CPU temperature details. Another valuable option for monitoring both CPU and GPU temperatures is MSI Afterburner.
For Mac users, Fanny offers a convenient solution. Although it may not delve as deeply into specifics as Speccy, Fanny takes the form of a widget within your notification center, granting you effortless access to both CPU and fan statistics. Those utilizing Linux systems can rely on the psensor tool to gauge their CPU temperature.
How Hot Should My CPU Be?
This is where intricacies emerge. Various CPUs are constructed with distinct architectures, leading to diverse thresholds regarding how much stress they can withstand. For example, a temperature of 80°C might be within the tolerable range for certain processors but could potentially cause severe harm to others.
When Idle
Irrespective of the specific processor model you possess, the optimal idle temperatures remain relatively consistent. The term “idle” denotes the state when your PC is powered on but not running any applications, and the operating system isn’t engaged in resource-intensive tasks (like Windows’ Superfetch process). During this period, maintaining an average idle temperature within the range of 30 to 40°C is generally considered acceptable.
When Under Heavy Load
If you’re utilizing an Intel CPU, take the initiative to locate the specifications of your processor. Specifically, search for a metric referred to as “TJunction” or “TJ Max.” This numerical value indicates the absolute maximum temperature threshold beyond which issues may arise. As a prudent guideline, aim to maintain your processor’s temperature consistently 20 to 30°C lower than this maximum to ensure a safe margin.
For instance, consider the Intel Core i5-9500, with a TJunction of 100°C. If you’re using this processor, your objective is to prevent its temperature from exceeding the range of 70 to 80°C. With AMD processors, the approach is relatively straightforward: access the “Max Temps” specification listed on your processor’s product page. For instance, the Ryzen 5 2600X comes with a maximum temperature limit of 95°C. To safeguard its health, maintain its temperature below 65 to 75°C. By adhering to these temperature thresholds, you can ensure the longevity and reliable performance of your CPU.
Identify and Bring Down High CPU Usage
Once you’ve established that your CPU is experiencing overheating, the next step involves pinpointing the potential causes behind this issue. The underlying problems might be attributed to either the software or hardware aspects of your PC, which requires a thorough investigation encompassing several possibilities.
Initiating with software-based solutions is often more straightforward. To begin, a recommended approach for Windows 10 and Windows 11 users is to press Ctrl + Shift + Esc, allowing you to check for any unusually high CPU usage. Particularly, less powerful CPUs might experience heightened stress due to specific Windows processes and services. To address this, we’ve compiled a list of prevalent remedies for tackling high CPU usage in Windows 10. Similarly, we’ve created a corresponding guide catering to Linux users, offering strategies to mitigate elevated CPU usage.
1. Clean Out Dust

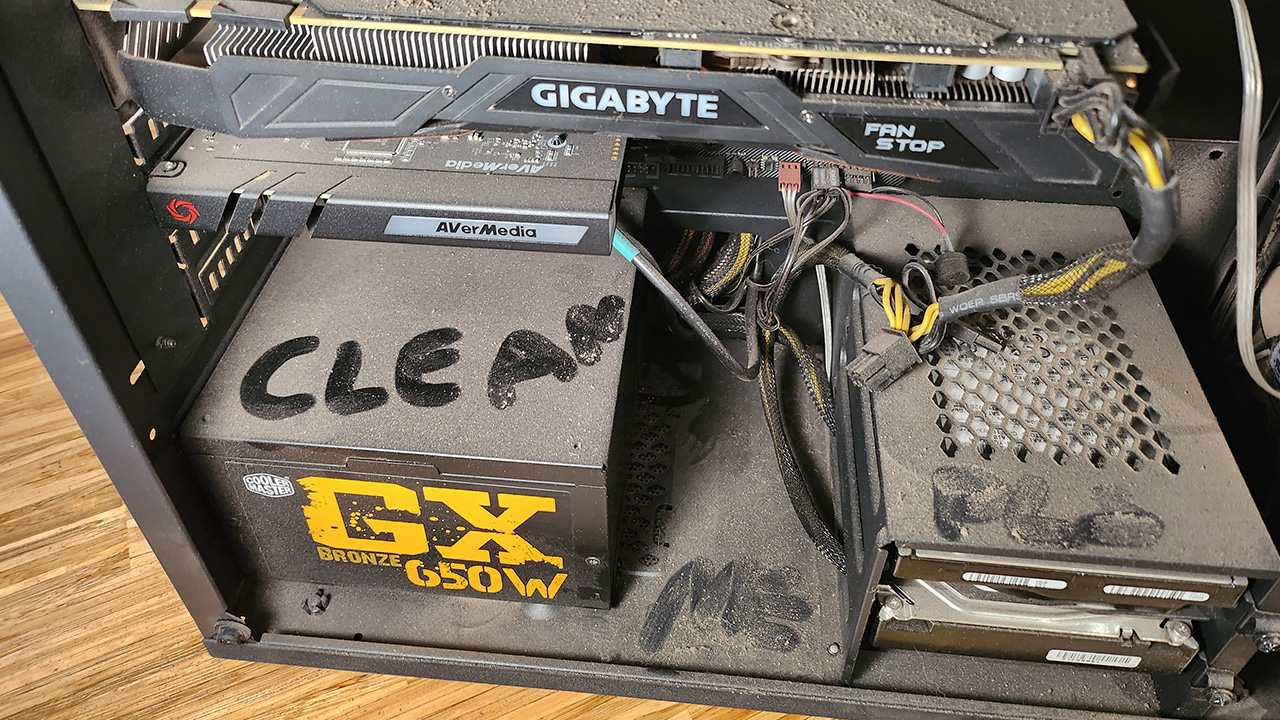
Giving your computer a thorough cleaning can have a significant impact on its temperature regulation. If you notice excessive fan noise, it might be necessary to open your PC and perform a cleaning routine.
The accumulation of dust can obstruct fan operation and clog heatsink fins. Fortunately, cleaning the interior of your computer is a straightforward process. Begin by grounding yourself to prevent electrical discharge to sensitive components. Next, use compressed air from approximately 6 inches away to dislodge dust from fan blades, the power supply, motherboard, and other hardware components. In hard-to-reach spots, employing a Q-tip dipped in >90% isopropyl alcohol can be effective. It’s crucial to ensure that no moisture remains before powering your PC back on. This maintenance activity can greatly improve your computer’s cooling performance and overall longevity.
2. Reseat Your Heatsink
If you’ve applied thermal paste and notice that your CPU temperature hasn’t decreased even after a few days of the initial break-in period, the issue might be related to an incorrectly seated heatsink. In such cases, the heatsink might not be making proper contact with the processor, potentially leading to overheating.
To resolve this, follow these steps:
1. Remove the heatsink from the processor.
2. Ensure that the heatsink is aligned correctly with the mounting points around the perimeter of the processor.
3. Reapply the heatsink, making sure it’s firmly seated in place.
4. Secure the heatsink in place using screws or tabs, depending on your heatsink’s design.
By addressing the heatsink’s seating and ensuring proper contact with the processor, you can rectify temperature-related issues and enhance the cooling efficiency of your CPU.
3. Invest in a New Heatsink/CPU Cooler

A CPU cooler plays a vital role in maintaining the temperature of your processor by effectively managing heat dissipation. This process involves drawing heat away from the CPU and directing it towards the baseplate or heat pipes. Subsequently, the heat undergoes a transition from gas to liquid within the condenser, and it is then cooled down through the fins of a heatsink and a fan. This cooled liquid, known as coolant, returns through the evaporator to be reused in the cycle.
This entire process essentially involves recycling the heat generated by the CPU. However, if your CPU cooler or heatsink is outdated or ineffective, the heat recycling process won’t result in efficient cooling. For detailed guidance on selecting an appropriate CPU cooler for your PC, refer to our comprehensive guide.
It’s also valuable to distinguish between air cooling and liquid cooling, the two primary methods for cooling CPUs. Air cooling employs a fan-equipped heatsink attached to the CPU using thermal paste. The fan disperses heat, making this setup common and noticeable when the fan operates more vigorously during increased CPU usage.
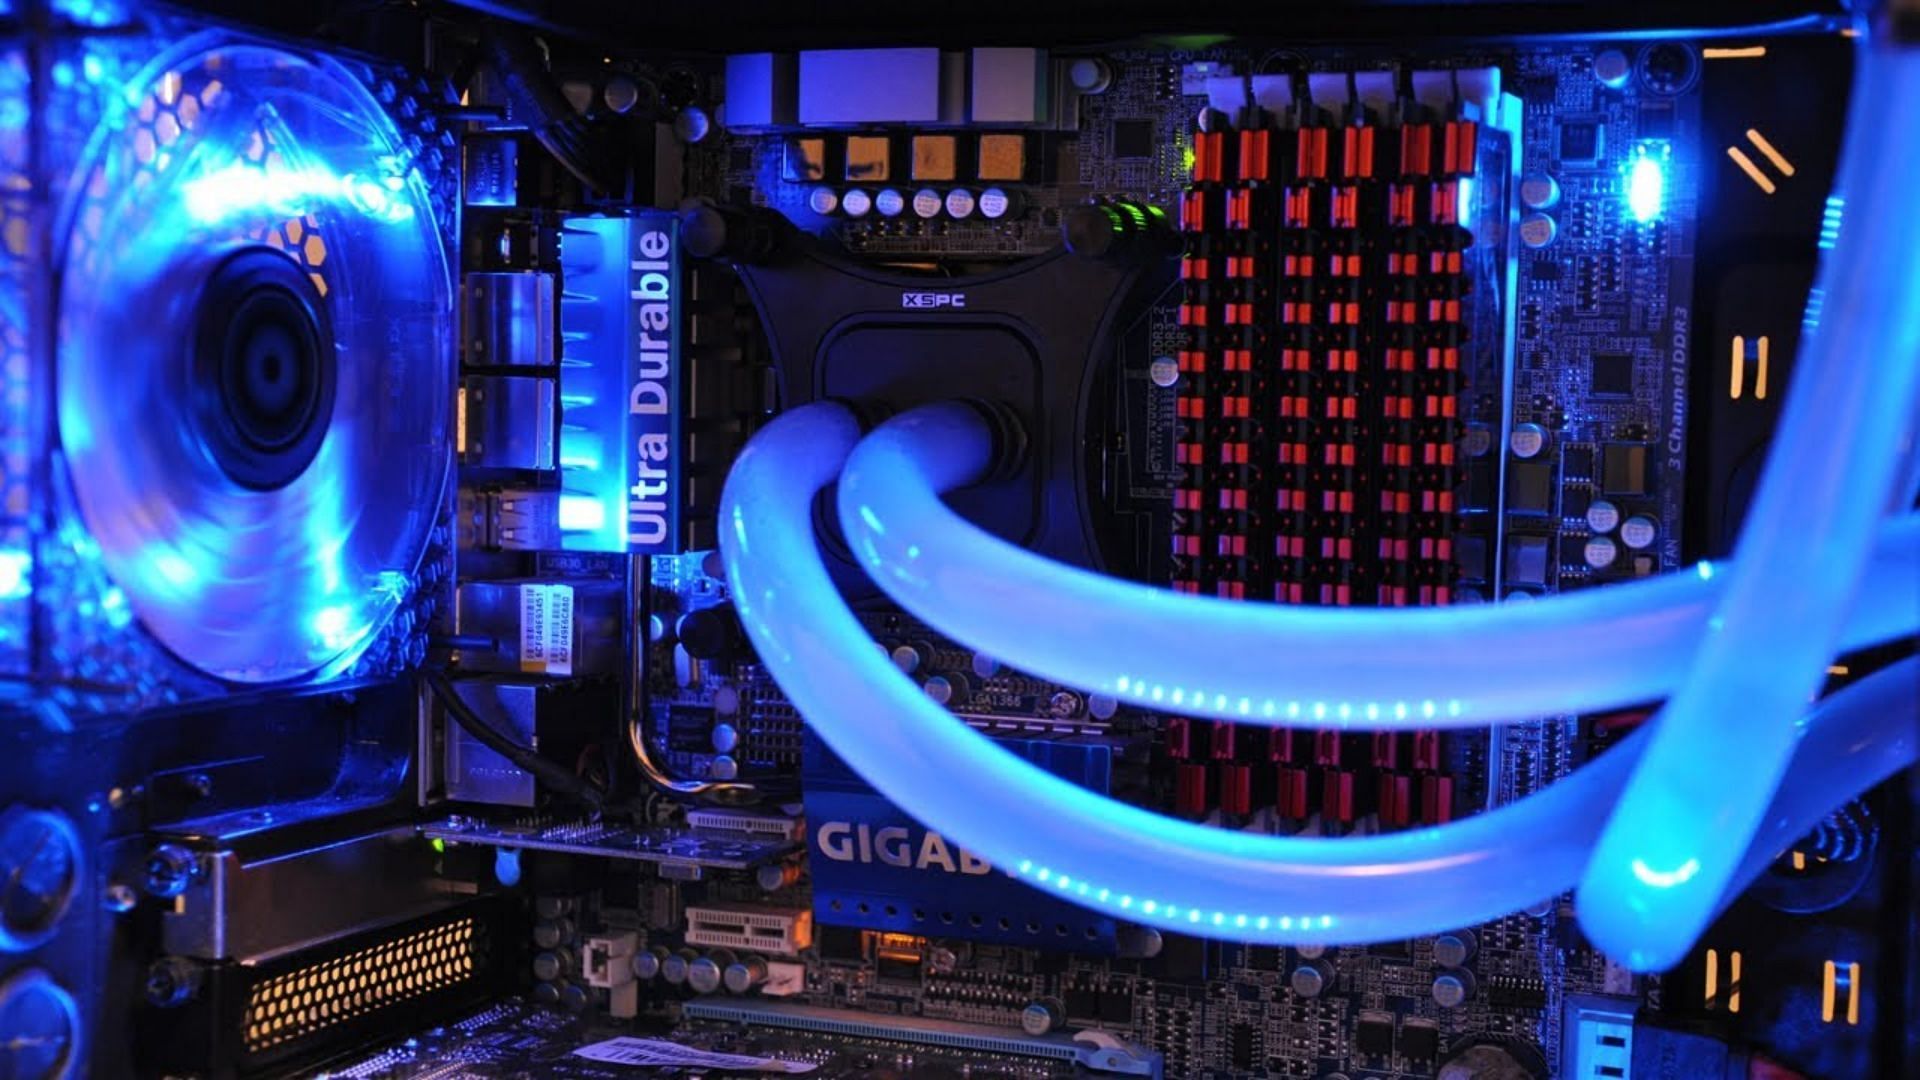
On the other hand, liquid cooling employs compact shrouds to connect to the CPU. Liquid coolant flows through tubes and radiators to aid in CPU cooling. A fan attached to the radiator, akin to the heatsink setup, expels accumulated heat. Although crafting a custom loop liquid cooling system is intricate, it offers superior performance compared to other solutions.
In conclusion, liquid coolers provide enhanced performance and operate more quietly. However, air cooling is a more cost-effective and simpler option for maintenance. The choice between these methods depends on your preferences, needs, and the level of cooling performance you seek for your CPU.
4. Reapply Thermal Paste
Thermal paste serves as a crucial component that fills the gaps between a CPU processor and the heatsink, facilitating efficient heat transfer. Operating a CPU without thermal paste is comparable to driving a car without oil. Ignoring clear warning signs, like an illuminated check engine light, can lead to immediate engine failure.
Follow these steps to correctly apply thermal paste to your CPU:
- Select Appropriate Thermal Paste: Choose the right thermal paste for your CPU. Ceramic thermal paste is straightforward and versatile. For affordable options, consider Thermal Grizzly Kryonaut and GELID GC-Extreme. If you desire improved CPU performance, liquid metal-based thermal pastes are available. However, these are more complex to apply, and even a minor error can damage your PC. Thermal Grizzly Conductonaut is a suitable choice.
- Power Off and Disconnect: Power off your computer and disconnect all cables for safety.
- Remove Heatsink: Gently detach the heatsink from the processor.
- Clean Heatsink: Thoroughly clean the heatsink to remove any residue from previous paste. A Q-tip can be helpful for tougher spots. For stubborn remnants, you can utilize >90% isopropyl alcohol or a specialized thermal paste cleaner like ArctiClean.
- Apply Thermal Paste: Place a pea-sized amount of thermal paste at the center of the processor. Avoid applying excessive paste; a small quantity is adequate. Alternatively, you can apply a few thin lines or distribute the paste evenly using a piece of cardboard or a glove-covered finger. Be cautious not to get any paste on other components.
- Reattach Heatsink: Gently position the heatsink back onto the processor and secure it with screws.
- Monitor Temperature: Over a few days, monitor the CPU temperature using software like Speccy.
It’s advisable to reapply thermal paste every few years to maintain optimal performance. For individuals who frequently push their CPU to the limit, such as dedicated gamers, yearly reapplication may be recommended. By consistently following these steps and reapplying thermal paste as necessary, you can ensure effective heat transfer and safeguard the longevity of your CPU.
5. Check for a Malware Infection
A severe malware infection can impose increased strain on your CPU, causing your computer’s performance to slow down significantly. Various types of malware infections can contribute to a surge in CPU temperature, including:
A severe malware infection can impose increased strain on your CPU, causing your computer’s performance to slow down significantly. Various types of malware infections can contribute to a surge in CPU temperature, including:
- Viruses:
- System infectors
- File infectors
- Macro viruses
- Trojans:
- Backdoor Trojans
- Rootkit Trojans
- Exploit Trojans
- Worms:
- Email worms
- Internet worms
- Network worms
Malware that utilizes a substantial amount of system resources often leads to elevated CPU temperatures and loud fan noise. Prominent examples are viruses like Bitcoin Miners (such as Otorun, Kolab, and BTMine) that exploit computational power for cryptocurrency mining.
To effectively counteract malware threats, it’s crucial to employ robust security measures. Windows Defender, as per our annual review, stands as a commendable antivirus solution that rivals top third-party alternatives in terms of effectiveness. However, for an added layer of lightweight security, Malwarebytes is a favored choice within our community. By leveraging a combination of reputable antivirus software and supplementary security tools, you can safeguard your system from the adverse effects of malware infections and maintain stable CPU temperatures.
6. Stop Overclocking
Overclocking involves raising the CPU’s clock rate or speed through BIOS settings, resulting in enhanced computer performance. However, this performance boost comes with a trade-off: overclocking leads to increased CPU heat generation, thereby elevating temperature levels. While this correlation isn’t absolute, investing in a quality heatsink or CPU cooler configuration can help maintain satisfactory CPU temperatures even during overclocking.
Nevertheless, if you engage in excessive overclocking without an adequate cooling system, the CPU is susceptible to overheating, throttling, and potential system failures. As previously mentioned, MSI Afterburner serves as an overclocking software. Our dedicated overclocking guide for this tool offers insights into the process and includes instructions on how to halt overclocking if necessary. By exercising prudent overclocking practices and pairing it with appropriate cooling solutions, you can optimize your computer’s performance without compromising its stability or risking overheating-related issues.
7. Give Your Computer Some Space
It’s a common practice to tuck your computer tower away or protect it from potential damage. However, it’s important to acknowledge that computers require adequate ventilation space. If your computer is tightly confined in a small space, it’s worth contemplating relocation. Ensuring a few inches of clearance on all sides is advisable.
Moreover, if your computer remains operational within an enclosed cabinet, you’re likely to encounter heightened CPU temperature concerns. While placing it in a cabinet is feasible, you might want to consider incorporating a fan to facilitate heat dissipation or leaving the cabinet door open when the computer is running. By ensuring proper airflow and ventilation, you can mitigate the risk of elevated CPU temperatures and promote optimal performance for your computer system.
8. Replace or Add Fans
If your computer wasn’t specifically designed to handle high CPU usage and overclocking, the standard fan may not be equipped to adequately cool the system under increased demands. Most fans in standard computers are tailored for average usage scenarios. Pushing the system beyond these limits can result in elevated CPU temperatures.
To address this, you have a few options:
- Upgrade Your CPU Fan: Consider replacing your current CPU fan with a higher performance model. A more efficient fan can offer improved cooling capabilities, positively impacting overall CPU performance and health.
- Install a Case Fan: If your CPU fan is already optimized or if you’re seeking additional cooling, adding a case fan is a viable solution. A case fan, as the name suggests, is an extra fan that expels heat from the system. Alternatively, you can adopt a dual-fan setup with an intake and an exhaust fan. The former pulls in cool air, while the latter expels hot air. It’s crucial to ensure that the fans are compatible to avoid any pressure-related issues within your computer. Some effective fan options include the Corsair ML120, Corsair AF140 LED Low Noise Cooling Fan, and Cooler Master Sleeve Bearing 80mm Silent Fan.
- Check Your Power Supply Fan: The power supply fan is another component to consider. If it’s not operating properly and you lack a case fan, your system lacks a mechanism to effectively expel heat. If the power supply fan continues to exhibit poor performance even after cleaning, contemplate a replacement. This can contribute to improved heat dissipation throughout the entire case.
By exploring these fan-related solutions and making informed choices, you can effectively manage CPU temperature concerns and maintain optimal performance and health for your computer system.
9. Clean Up Cables
If your computer wasn’t designed specifically to handle high CPU usage and overclocking, the installed fan might not be equipped to adequately cool the system under increased demand. Many fans in standard computers are tailored for average usage levels. Any utilization beyond this norm can lead to elevated CPU temperatures.
An effective solution is to contemplate upgrading your CPU fan to a higher performance model. A superior fan can offer improved cooling, positively impacting overall CPU performance and health.
Alternatively, if you’ve already optimized your CPU fan but require additional cooling, the installation of a case fan is a viable option. As the name suggests, a case fan functions as an auxiliary fan that expels heat. Another option involves employing both an intake and an exhaust fan, creating a dual approach to heat management. One fan draws in cool air, while the other expels hot air. To prevent pressure-related issues within your computer, it’s crucial to ensure compatibility between the fans. Consider options like Corsair ML120, Corsair AF140 LED Low Noise Cooling Fan, and Cooler Master Sleeve Bearing 80mm Silent Fan, as they are well-regarded choices.
Lastly, it’s worth inspecting your power supply fan. If this fan is malfunctioning and there’s no case fan in place, your computer lacks a mechanism to dissipate heat effectively. If the power supply fan continues to operate suboptimally even after cleaning, contemplating a replacement can help enhance heat dissipation throughout the entire case. By exploring these fan-related solutions, you can address temperature-related concerns and maintain optimal operating conditions for your computer.
10. Use a Laptop Cooler
Incorporating additional components into your computer case can be beneficial, but it loses its advantage if it results in a chaotic tangle of cables. Irrespective of your cooling system, optimal airflow won’t be achieved if cables obstruct the fan(s). To remedy this, you can organize your cables to ensure they’re clear of the fan(s) and CPU area. This task can involve employing cable ties, adhesive hooks to elevate cables, and opting for shorter cables whenever feasible. By proactively addressing cable clutter, you can enhance airflow, optimize cooling efficiency, and maintain appropriate temperature levels within your computer case.
11. Adjust Your CPU Settings in Windows
While not always the ideal solution, adjusting your CPU settings within the Windows operating system can be an effective way to mitigate overheating issues. Lowering the maximum CPU usage setting assists in preventing the CPU from reaching 100 percent utilization, subsequently contributing to temperature reduction. The objective is to strike a balance between performance and temperature to ensure optimal functioning.
Here’s how you can make these adjustments:
1. Click on the “Start” menu or the search bar, and type “Control Panel.” Open the “Control Panel.”
2. Select “Hardware and Sound,” then proceed to “Power Options,” and click on “Change plan settings.”

3. Click on “Change advanced power settings.”
4. Expand the section labeled “Processor power management” and locate “Maximum processor state.” Adjust the percentage to a value around 80 or 90 percent.
5. Monitor how your CPU temperature changes over a few days with the new setting. Aim to strike a balance that is close to 100 percent usage. Keep in mind that setting it too low can lead to a noticeable performance decline.
By making these adjustments, you can effectively manage CPU usage and temperature, finding a suitable compromise between performance and heat generation.

